It’s as easy as 1, 2, 3 to make a heating pad yourself!
As you probably know, a microwavable heating pad is great to use whenever you need to apply some indirect heat for pain relief, comfort, or warmth.
Here’s when to use ice vs heat for soreness, aches and pains.

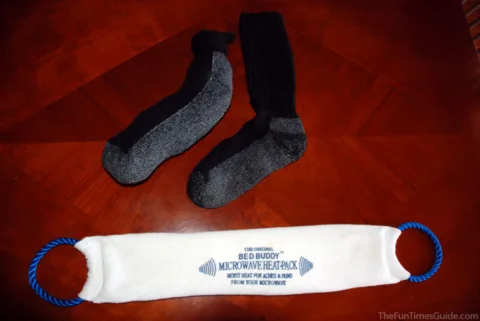
Awhile ago, I was given this microwave heating pad as a gift. I fell in love with the simplicity of it (just some rice inside a sock-like casing) and I got to thinking… “I could probably make one of these myself.”
Depending on your sewing abilities (mine aren’t so good), you could also make one of these other styles of microwave heating pads if you’re feeling really creative!
I decided to try my hand at the very basic sock-looking one.
Here are the necessary materials along with simple instructions for making a microwave heating pad yourself…
Materials Needed
What you need for this DIY heating pad:
- 4 to 6 cups of Rice (or other dried grains)
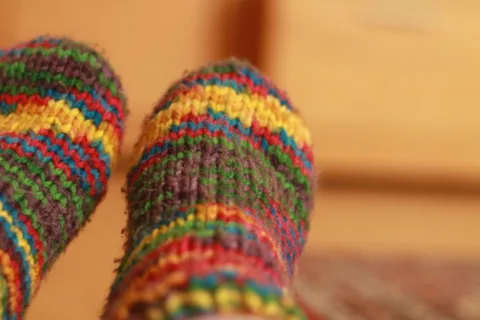
- 2 Socks (old socks are fine, as long as they don’t have holes in them)
- 2 tablespoons of Herbal Tea (optional)
TIP: Using 2 unmatched socks of the same size is a great way to recycle any unmatched socks that you may have on hand!
Best Socks To Use
Longer socks (like athletic socks) are great to use because they are long enough to give you plenty of room to partially fill the sock and then tie a knot to close it. The fabric of athletic socks is also the perfect thickness to keep the hot ingredients from getting too close to your skin.
For this tutorial, one sock will be partially filled with ingredients that can be safely heated. The other sock will serve as the outer shell to protect your skin from the heat and keep the inner bag clean and free of debris.
Sock Filler Ingredients
As a sock filler, you want to use a natural material that will hold heat for 30 minutes or more.
You can use common ingredients from your pantry such as 4 to 6 cups of:
- whole dried corn kernels
- beans
- flaxseed
- barley
- white rice (not the quick cooking type)
The filler should consist of all one ingredient for even heating.
Adding 2 tablespoons or so of dried herbal tea to the filler mixture will enhance the otherwise bland scent that is naturally released when it’s heated.
NOTE: The filler will have a stale scent after awhile. You can replace the filler inside the sock at anytime.
How To Stuff The Sock
There are times when you will want the heating pad to drape over a certain spot to add indirect heat to one area. Other times, you will want to use the heating pad more like a pillow to apply heat directly to one spot.
So, before filling the sock, tie a loose knot at the top to see how much room is left that can be filled with the ingredients. Of the portion that can be filled, fill it only 1/2 to 3/4 full, depending on how you intend to use it.
If you want your heating pad to conform to the body’s shape, do this:
- Do not fill the sock completely because this will make a hard bag that will not conform to the body. Instead, only 1/2- fill it, so that it can be draped over a shoulder, around an arm, or over a leg.
If you want your heating pad to be used more as a support pillow for one area of the body, do this:
- Fill the bag 3/4ths full. This will create a sturdier bag that can be used to prop a foot or an arm.
Finally, tie a knot at the top of the sock to keep the filler from escaping. Just be sure not to make it so tight that you will have a difficult time changing the filler in the future.
You can always add more or less filler as you need it. Here’s a great video showing how to make a diy heating pad.
Tips For Microwaving Your Heating Pad
1. In the microwave, heat the filled sock on High for 1-minute intervals until it’s warm (or even hot to touch), but won’t burn your skin. Start with a warmer sock first. Then, if that’s not effective, try a hotter sock.
NOTE: The first time that you heat a sock with new filler inside, allow it to get hot enough to release steam. Continue heating at 1-minute intervals until all of the steam has been released. Keep track of how long it takes for your filled sock to get hot. This will be your guide for to how long it will take to make your heating pad hot in the future. (Do not overheat the filled sock in the microwave; the natural fillers can actually burn from the heat. Generally 2 to 3 minutes is best.)
2. When the sock filling is hot enough to your liking, remove it from the microwave and cover the filled sock with the other sock.
3. Place your heating pad where you need it and enjoy the warmth.


